I realized it’s been a super long time since I’ve posted here, not that anyone is really reading, but the funny thing is I’ve been doing lots of crafty projects that I should be posting about, but I’ve been too busy crafting.
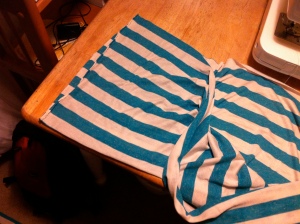
I got it in my head to make an Infinity Scarf for my 13 year old (soon to be 14 year old!) little sister for Christmas. So sometime earlier this season I went to JoAnn Fabrics and found this fabric in the red tag sale area! I wanted a blue stripe knit so it would seem fate was on my side.

Then, although the bolt said $10 per yard, it rang up at $5/yard. Yippee!

I bought it in two .75 yard lengths, 60″ from selvage to selvage. Here’s one of the pieces laid out flat.
I should mention the websites that really helped me along!
Found Come on Ilene’s post months back – it’s what inspired me to make the scarf.
And then tonight when preparing to sew the scarf I found Crafty Gemini (complete with video!)
I folded the fabric hot dog style with right sides together:
Pinned along the edge:

Measured the 4″ from the edge to leave open for later (though when sewing, I cut it down to about 3″ – more on that later):

Sewed along the border between White and Blue Stripes. The colors were opposite on the other side blue left of foot and white right of foot which means that when sewn together, blue and white will still alternate all the way around.

I applied a gentle stretch of the fabric while sewing using one hand in front and one in back to stretch which resulted in a little bit of a bumpy seam, but that won’t matter when it’s finished and will actually give the finished scarf a bit more stretch. (Less prone to breaking the thread when stretched.)

Turning the fabric right side out gives you a tube. I sewed the second piece the same way and realized it was super long! One end of the fabric was a bit wonky anyway, so I cut off 12″ from the wonky end of each tube.

Then I matched up the ends of the two tubes, matching the seams and patterns, turned one tube inside out over the other one (right sides together), pinned it at every color change to ensure the pattern matched and sewed the seam with a pretty wide allowance.

When turned right side out again, the seam looked like this – not too bad:


I then matched up the other end ala the video from Crafty Gemini, pinned and sewed it. I did not leave quite 4″ of open space and I wish I had. I did not really have much wiggle room and the pins right around the hole kept falling out. Nevertheless, when I inverted it, I had this:

I hand sewed it shut and it all the seaming work was done!

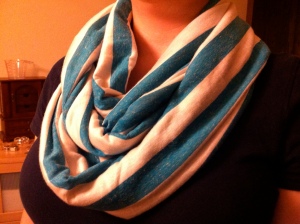
It’s really long, but I’m ok with that! It can wrap triple around the neck. All in all a super easy and fast project! I want to make one for myself now. :)